Making yogurt at home made easy

With a sous-vide stick, making yogurt at home is a breeze. In this article, you’ll learn how to prepare creamy yogurt using a sous-vide device, why this method is particularly recommended, and get useful tips & tricks for perfect yogurt.
Why make yogurt with a sous-vide device?
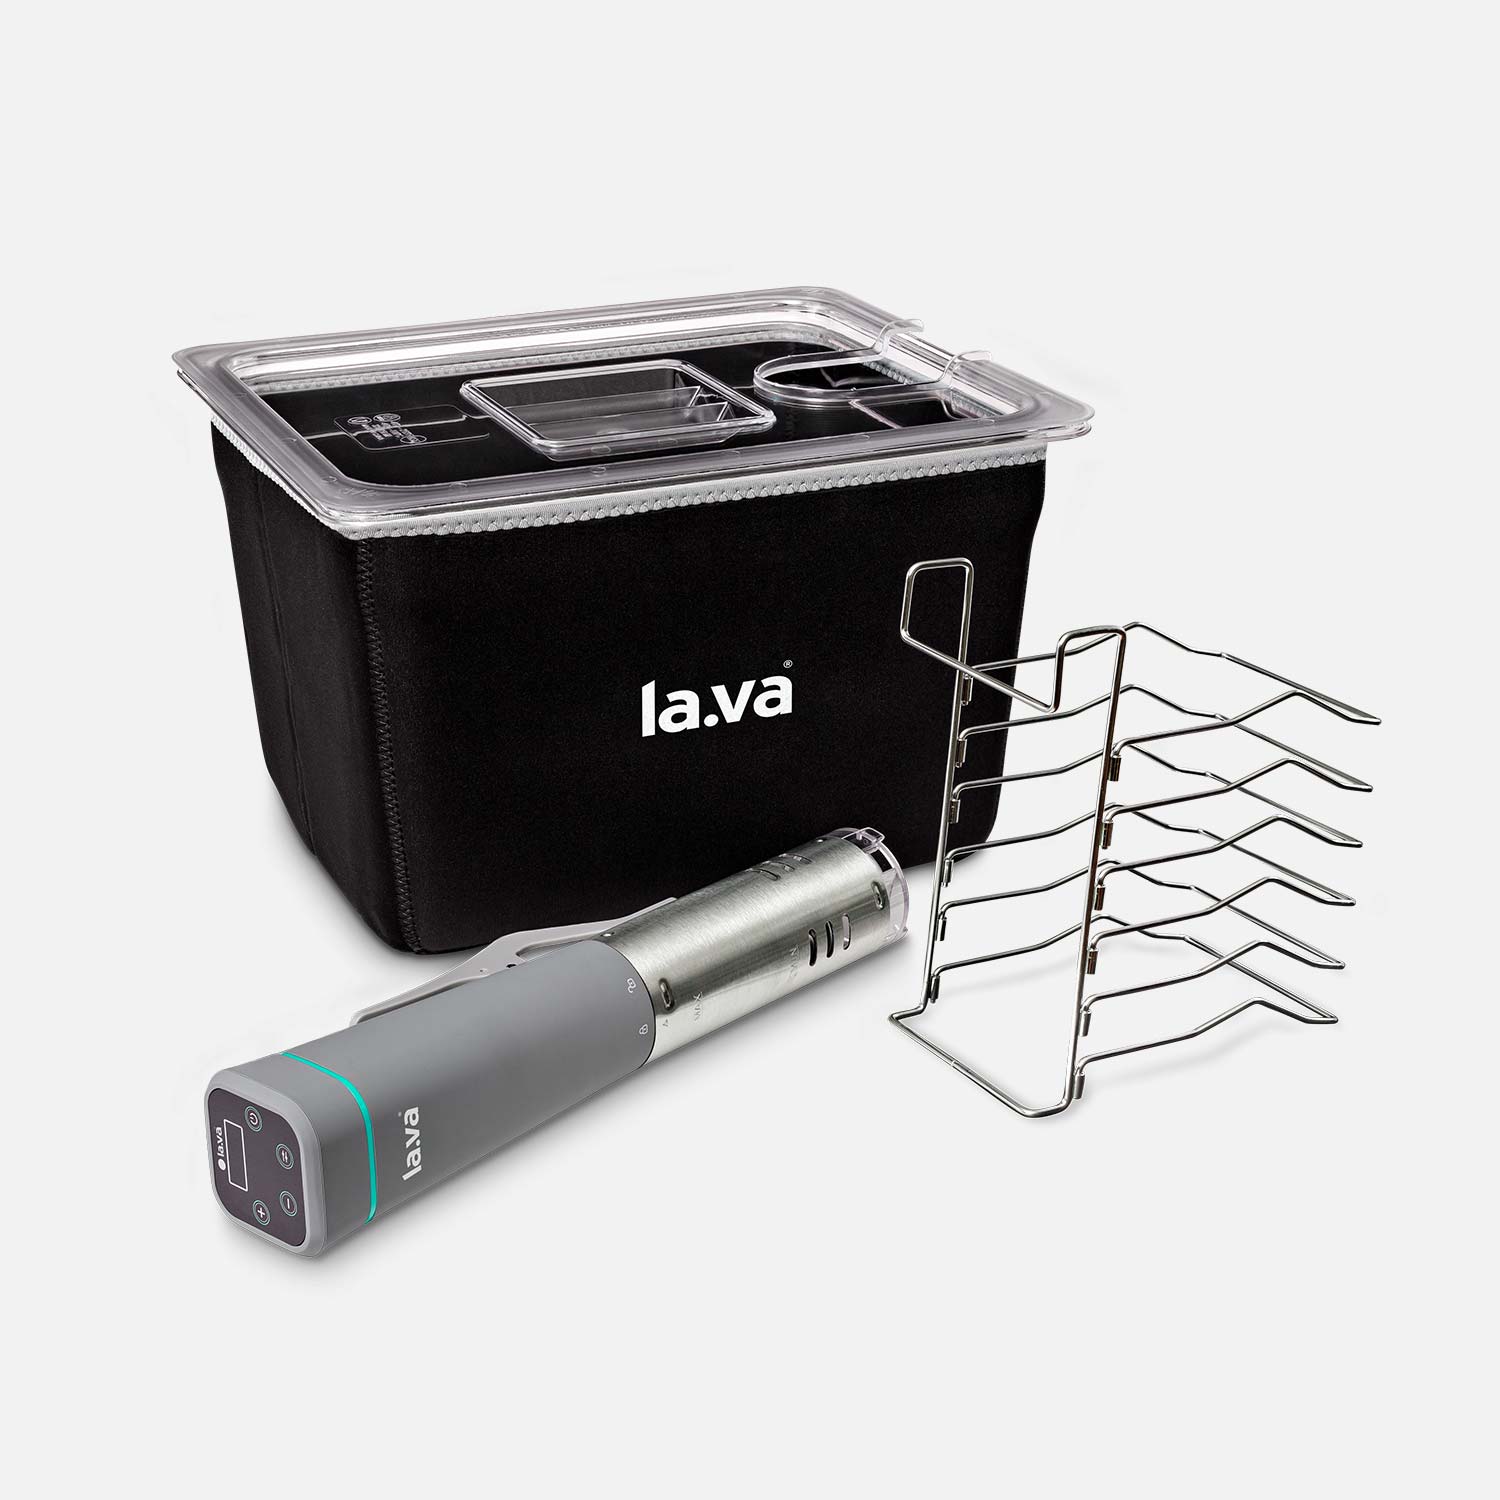
Sous-vide, known from haute cuisine, means "under vacuum" and is a cooking method in which food is gently cooked in a water bath at a constant, low temperature. This method is perfect for making yogurt because it guarantees a consistent temperature, creating an ideal environment for fermentation.
Advantages of the sous-vide method
- Constant temperature:
The precise temperature control ensures that the yogurt cultures work optimally. - Ease of use:
Once set, the device maintains a constant temperature without the need for intervention. - Versatile recipe variations:
Due to precise control over temperature and time, you can adjust the consistency and flavor of the yogurt to your liking.
Sous-vide recipe for yogurt
Whether enjoyed plain or enhanced with fresh fruits, honey, or nuts, your homemade yogurt will delight you and your loved ones. Here's a simple recipe that guides you step-by-step on how to create the perfect yogurt using just a few ingredients and a sous-vide stick.
Ingredients for 4 servings1 liter whole milk |
Preparation
1. Preparation: Heat the milk in a saucepan to approximately 85 °C to eliminate any unwanted bacteria. Allow the milk to cool down to 45 °C.
2. Add cultures: Place the plain yogurt into a bowl and gradually add some of the cooled milk, stirring well to evenly distribute the yogurt. Combine this mixture with the remaining milk.
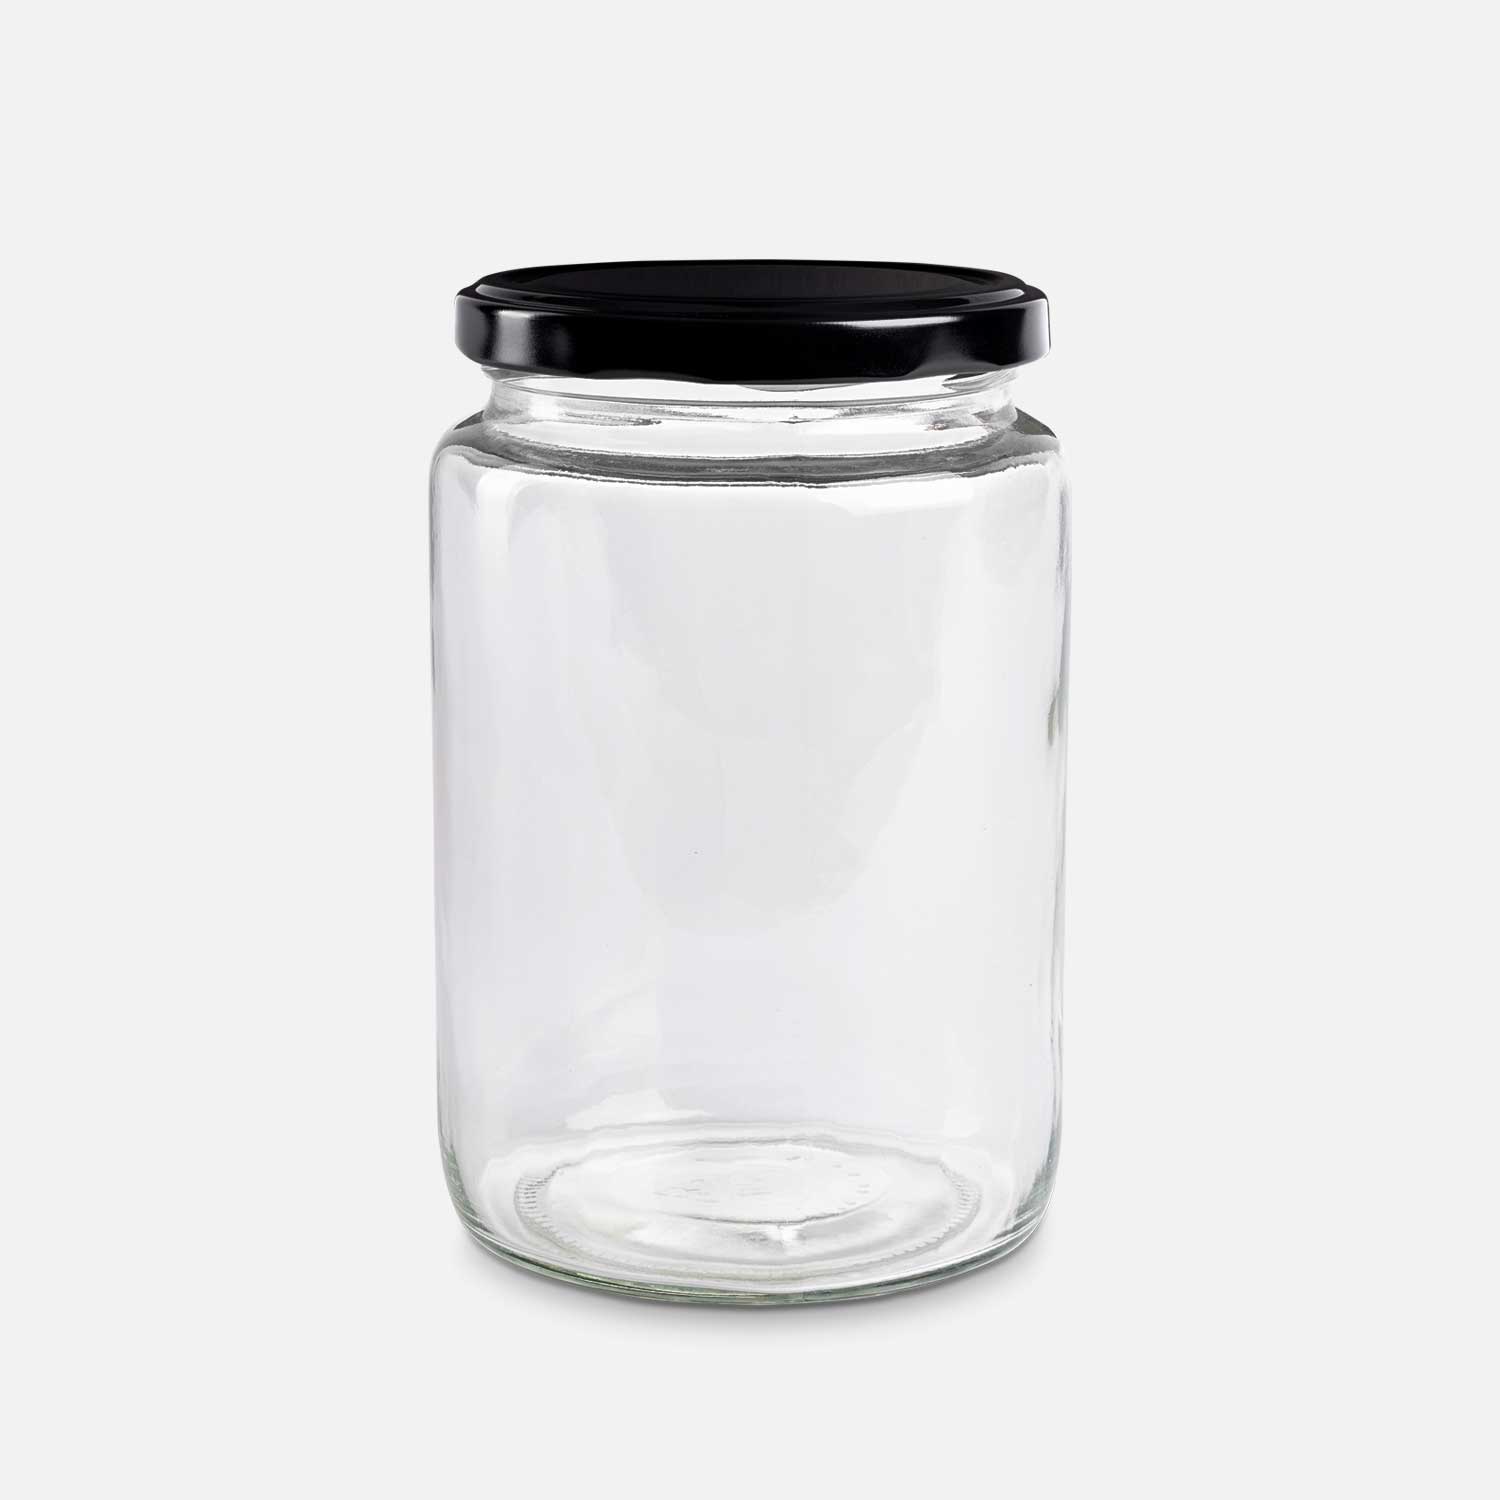
3. Fill: Pour the mixture into heat resistant preserving jars or vacuum bags. If using vacuum bags, ensure to remove all air before sealing.
4. Prepare sous-vide device: Set the sous-vide stick to 45 °C and preheat the water bath.
5. Cooking: Place the preserving jars or vacuum bags into the preheated water bath and let the yogurt ferment for 8 to 12 hours. Longer fermentation times will result in a firmer and more tangy yogurt.
6. Cooling: After the fermentation period, remove the yogurt from the water bath and refrigerate for at least 8 hours to set.
7. Enjoy: Your homemade yogurt is ready! Serve it plain or enhance it with fresh fruits, honey, granola, or nuts according to your preference.
Tips and tricks for perfect yogurt
- Milk quality:
Use fresh whole milk for an especially creamy yogurt. - Yogurt culture:
Ensure to use plain yogurt without additives as a starter culture. The higher the quality of the yogurt, the better the final result. - Variations:
Experiment with different types of milk such as sheep or goat milk for unique flavors. - Temperature:
A temperature of 45 °C has proven ideal for activating yogurt cultures without overheating them.
Vacuum sealing and extending shelf life
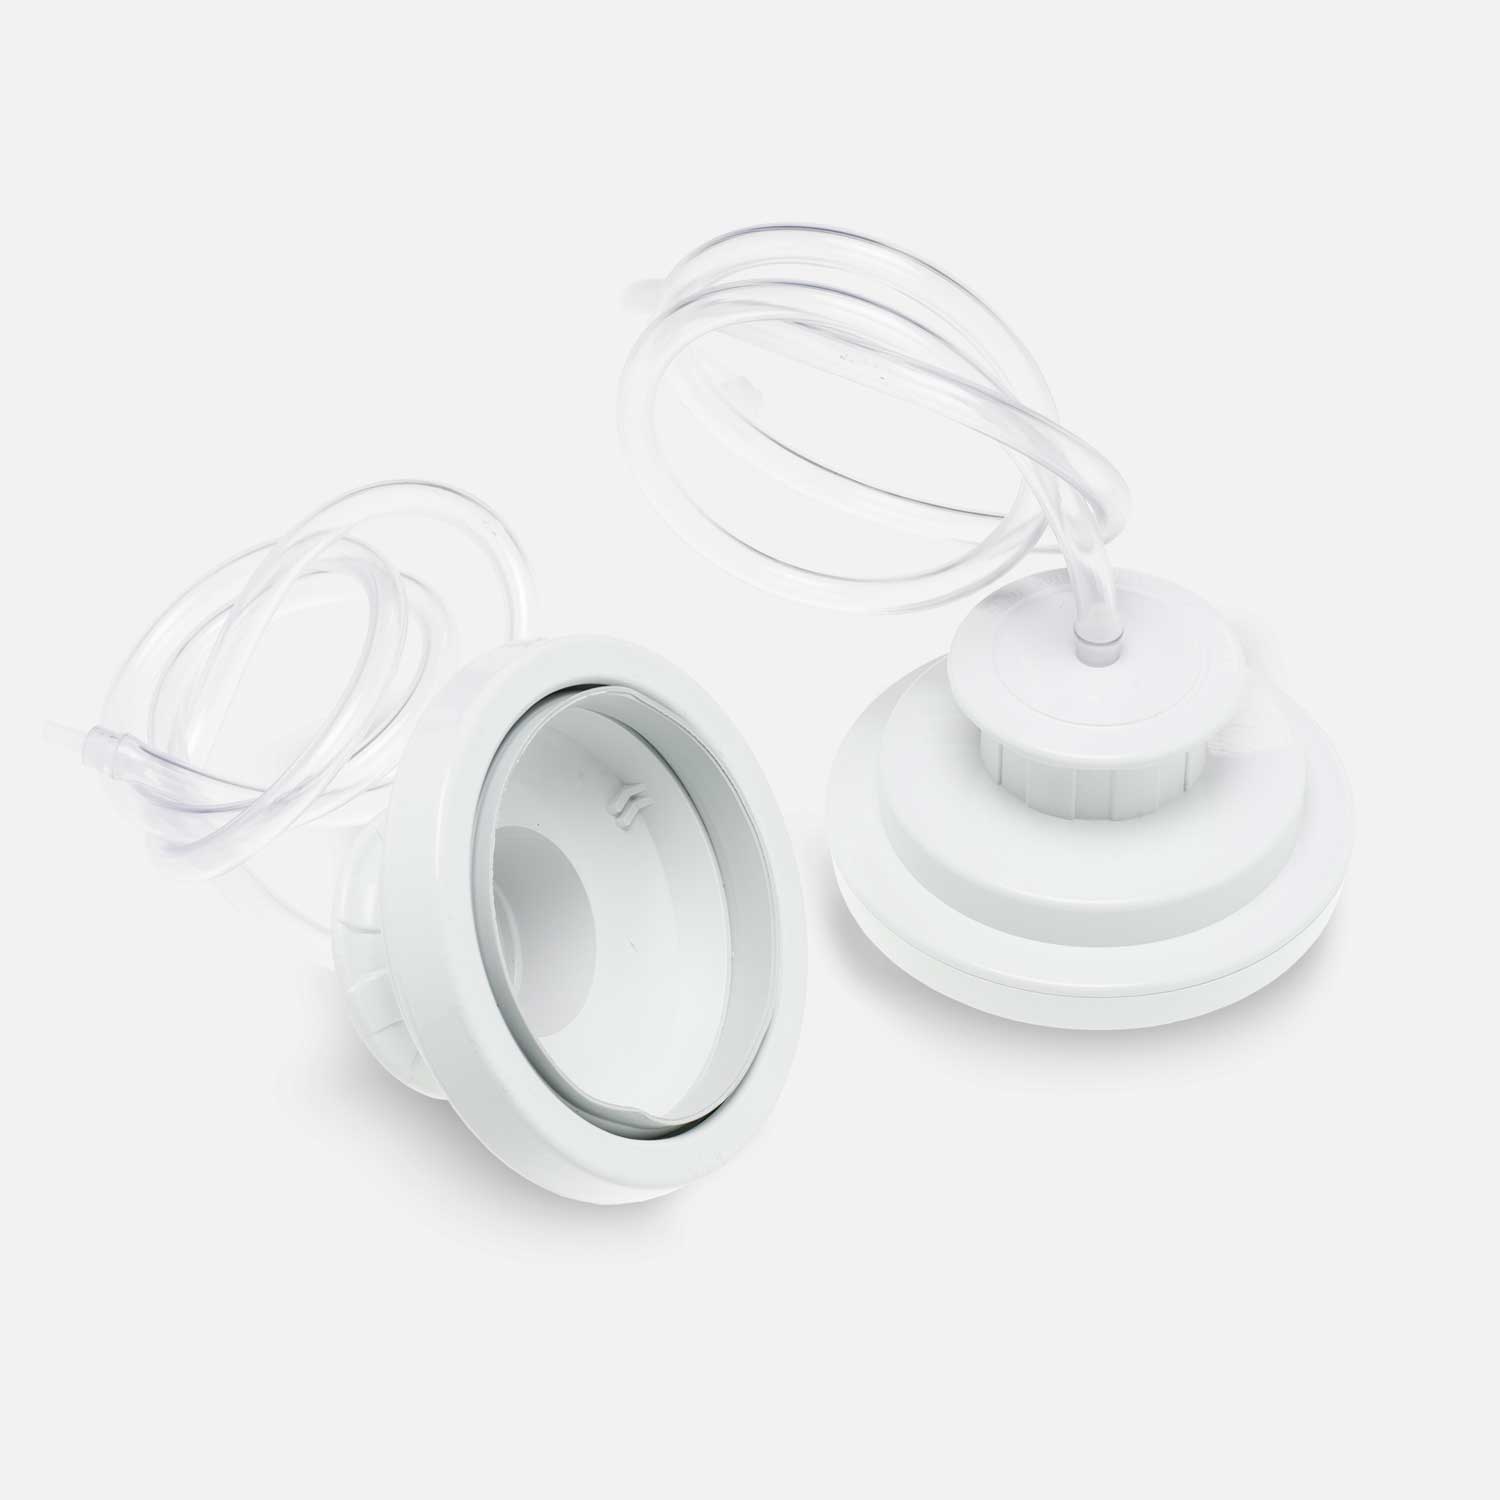
Homemade yogurt can be excellently preserved in Lava preserving jars by vacuum sealing. To do this, vacuum seal the preserving jars using a vacuum sealer and the vacuum attachment for jars. Vacuum packaging removes oxygen from the jar, significantly slowing the growth of bacteria and mold. This not only keeps the yogurt fresh for longer but also retains its taste and consistency. Stored in the refrigerator, vacuum sealed yogurt can last up to two weeks. This method is ideal for anyone who values freshness and homemade products, ensuring that a healthy snack is always within reach.
Conclusion
Making yogurt with a sous-vide device is simple and reliable. The precise temperature control ensures consistently perfect results every time. Try out this recipe and savor the incomparable taste of homemade yogurt.

