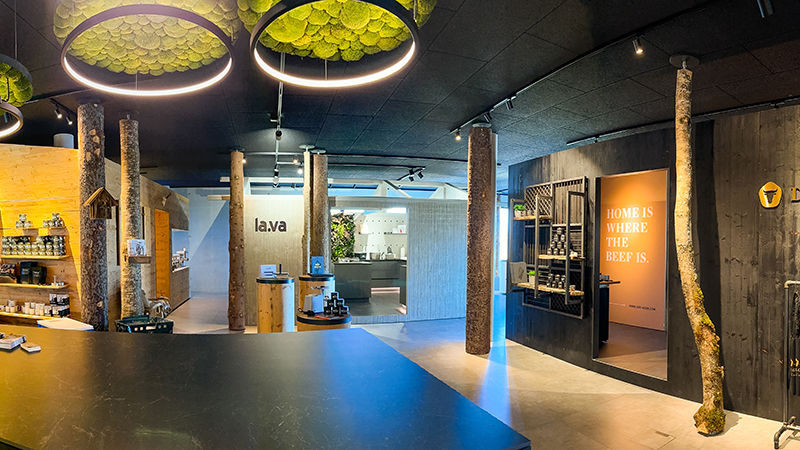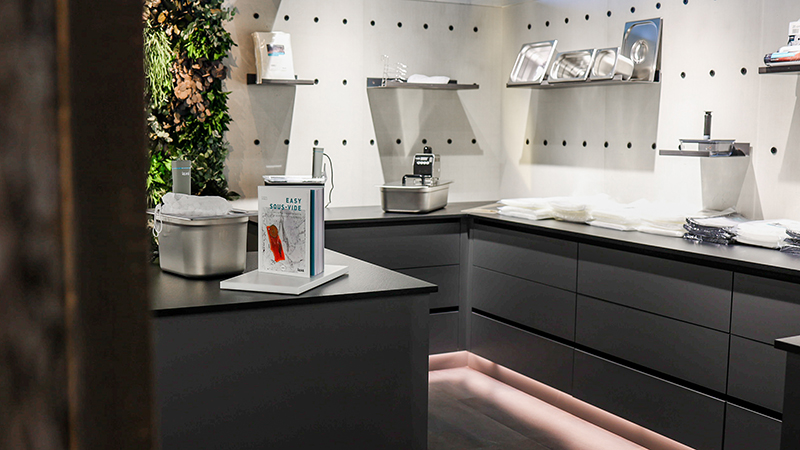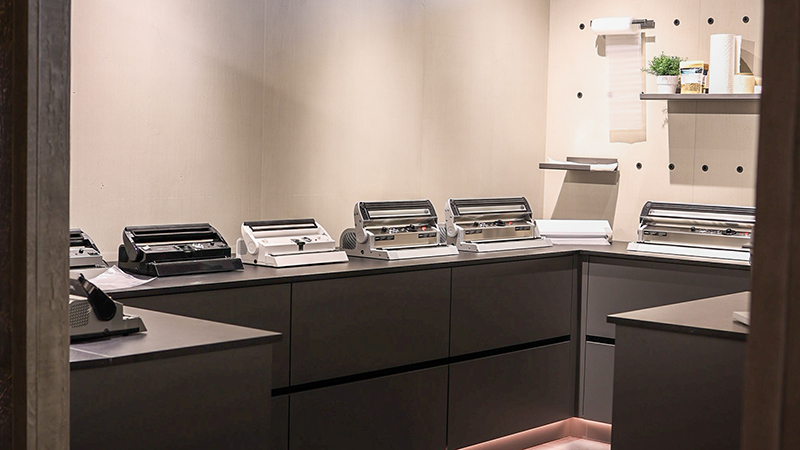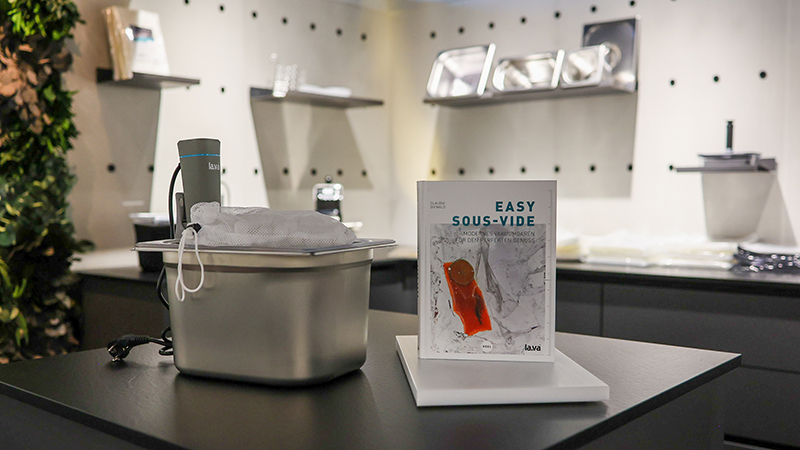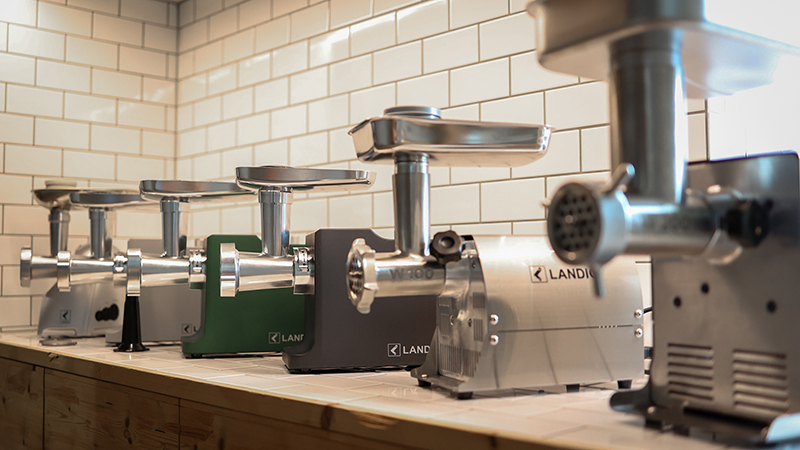
Visit us on site
We look forward to your visit
at the Lava showroom.
Mackstraße 90
88348 Bad Saulgau
Germany
Tuesday – Friday:
1:00 – 4:00 pm
Simply visit our shopping guide, where we will guide you step by step to your new vacuum sealer.
You can also find an overview of all of our vacuum sealers here.
In principle, you can use a Lava vacuum sealer to seal almost any bag or roll (regardless of whether it is smooth or structured) with a thickness of up to 200 µ. A vacuum sealer from Lava can therefore easily be used as a typical "foil sealer", which, however, has the decisive advantage over a conventional foil sealer, in that it can also vacuum seal. A vacuum sealer from Lava reliably seals the foil with a single, double or triple seal. Make sure that the foil is placed only on the sealing strip and not all the way to the stop bar. We generally recommend the structured Lava R-Vac vacuum bag or E-Vac sealer roll or I-Vac ESD-vacuum bags in the industrial sector. But it is also possible to vacuum smooth vacuum bags or ESD foils, but these should be at least 120 µ thick and must then be placed in the device with an overlap. Normal household foil bags can be vacuumed, but due to the poor quality of the foil (air-permeable and usually very thin) they will allow air to enter and thus also allow freezer burn.
Smooth vacuum bags with a thickness of at least 120 µ can be vacuumed without any problems, it’s just a little more time-consuming. We'll be happy to explain how this is done:
Vacuuming smooth bags
© Lava vacuum packing
The commercially available smooth vacuum bag (at least 120 µ thick) is "overlapped" at the top of the bag opening (see image 1 left) and then placed like this under the special bag stop bar (see image 2 above). Thanks to this special folding technique and the stop bar, which is only included in Lava devices, the vacuum sealer quickly and easily vacuums commercially available smooth and, above all, inexpensive sealed edge bags from a thickness of 120 µ.
- Check the bag to see if it has been placed under the stop bar inside the device. The vacuum bag must rest against the back without any wrinkles.
- Are you using structured or smooth vacuum bags? If you are using smooth vacuum bags, they must be at least 120 µ thick and inserted in a particular way (see question above).
- In rare cases it can happen that with a new device you have to press a little harder at the beginning. Apply pressure over the entire surface of the device’s lid. This is necessary to build up the negative pressure. You might have to press a little harder at the beginning because of the seals.
- The L+ pressure regulator is opened too far. Close it so that the device can build up negative pressure.
- Remove the rectangular foam rubber seal set from the bottom of the device and the device cover and turn it over. Alternatively, wash it with soapy water, let it dry and reinsert it.
- Remove the rectangular foam rubber seal set from the bottom of the device and the device cover and turn it over. Alternatively, wash it with soapy water, let it dry and reinsert it.
- The "Automatic / Manual" switch is set to "Manual". Note: The V.100 only seals manually.
- The L+ pressure regulator is open, close it so that the device can seal automatically.
- The cover of the liquid separator is loose.
- It has sucked in large amounts of liquid: Contact the service team
- Remove the rectangular foam rubber seal set from the bottom of the device and the device cover and turn it over. Alternatively, wash it with soapy water, let it dry and reinsert it. If that doesn't work, you should replace the seals.
- The bag opening is soiled, for example with liquid or fat.
- The cover of the liquid separator is loose.
- The L+ pressure regulator is open, close it so that the unit can seal automatically.
- Sharp objects have pierced the bag.
- Smooth vacuum bags have been used. If you are using smooth vacuum bags, they must be at least 120 µ strong and inserted in a particular way.
- It has sucked in large amounts of liquid: Contact the service team
- Power supply missing. Unplug the device and check the socket.
- The device is damaged: Contact the service team
First, using scissors or the Lava roll cutter, cleanly cut the desired length of vacuum roll. Now seal one side shut, making sure that the foil is placed ONLY on the sealing strip and NOT all the way under the stop bar. Simply carry out the sealing in automatic mode. The pump starts anyway, because the vacuum sealer has to build up a vacuum in order to seal cleanly. When one side is sealed, fill the finished bag with product and vacuum seal it (place it under the bag stop bar in the device).
- The sealing strip is soiled. Unplug the device and wipe the sealing strip with a slightly damp cloth.
- The sealing strip is torn. Order a new sealing strip and replace it.
- When vacuum packing vacuum rolls, only place the vacuum bag on the sealing strip and not below the bag stop bar. Once the seal has been made, turn the bag and then vacuum pack as usual.
Liquids can be vacuum packed in small quantities without any problems, e.g. when marinating. It is always advisable to use a Lava vacuum sealer with a double or, even better, triple seal.
More valuable tips for vacuum packing food with increased liquid content:
- With a vacuum sealer from Lava you can also seal food without vacuum packing at any time. Just make sure that you only place the foil on the sealing strip and not in the vacuum area.
- In principle, the following applies to foods with a higher proportion of liquid: Make sure that the vacuum bag is maximum 2/3 full. In addition, you should roll the bag opening outwards when filling so that the sealing area remains clean.
- If the meat is cold enough (preferably around 0 °C), the juice content will be so low that it will cause no problems with liquids.
- If you want to marinate or have a higher juice content, then simply put the liquid marinade and the meat in a standard household bag, tie a light knot in the top and then place it in the vacuum bag. The advantage here is that the liquid is contained in the household bag and the vacuum bag remains clean, meaning that you can use it again. Due to the excellent performance of the vacuum sealer, the inner bag is also vacuumed, meaning that the liquid has a concentrated effect on the meat and is not distributed throughout the vacuum bag.
For larger quantities of liquids such as soups, sauces or stews, Lava strictly recommends vacuum containers. These are available in plastic, glass or stainless steel. The necessary suction device for vacuum sealing is included as standard with every Lava vacuum sealer.
Lava’s New-line vacuum lids and plastic containers were tested by the Fresenius Institute in 2002, and remained sealed for around 25 days, which is a very long time for short-term storage. In general, we recommend that you store vacuumed containers for a maximum of 10 days. Make sure that you have observed the following points:
- Remove the valve and wash it out completely so that it is always free of any residue.
- The lid seals must be completely clean, without any residue.
- The container to be vacuumed must have a wide, smooth rim.
- Always remove the suction device from the appliance and NOT from the lid valve.
- Only fill with cooled products.
To vacuum seal standard twist-off jars, proceed as follows: Make sure the product is as cold as possible, fill the jars and place them in a Lava container with the lid closed (only twist until you feel a slight resistance). The vacuum container is now sealed and vacuumed. Due to the negative pressure, the jar with twist-off lid remains sealed under vacuum after you open the vacuum container and makes the familiar "popping sound" when opened. Head to our shop to find practical preserving jars that you can vacuum seal with our vacuum sealer attachment.
You should use the L+ pressure regulator when you want to vacuum seal pressure-sensitive products, such as fish, bread, vegetables, berries or electronic circuit boards. These products can be damaged when completely vacuumed and should therefore be vacuum packed with a lower negative pressure.
The sealing time always depends on the vacuum bag used. For the R-Vac vacuum bags, for example, a sealing time of approx. 5 - 6, for the somewhat stronger RS-Vac vacuum bags level 7 - 8 and one of the highest levels for the K-Vac or I-Vac vacuum bags.
Please make sure that your device is switched off and unplugged before cleaning. You should only ever wipe your vacuum sealer with a damp cloth and dry it carefully afterwards. Never wet clean the device.
In this case, we ask you to package the device well, preferably in the original box, and send it with a covering letter to:
Landig + Lava GmbH & Co. KG
Mackstraße 90
88348 Bad Saulgau
Germany
Your covering letter should include your address and contact details (phone number, email, etc.), as well as a brief description of the fault and a copy of the invoice.
After an initial check, we will then send you a cost estimate.
In order to make use of your right of revocation, we ask you to fill out revocation form. You are welcome to print out the form and send it to us by post or by email service@landig.com.
You are welcome to return the goods sufficiently packaged to our company address:
Landig + Lava GmbH & Co. KG
Mackstraße 90
88348 Bad Saulgau
Germany
Please enclose an covering letter with your package requesting an exchange. After an initial check, we will exchange your goods.
Depending on the device generation, you can replace the foam rubber seal set, the sealing strip and the cover caps for the microswitches by yourself. An overview of all available spare parts can be found here.
When sealing with the L+ pressure regulator, if the vacuum exceeds -0.8 bar you must use the manual setting and apply additional pressure to the device lid.
Watch how to use L+ pressure regulator in this video.
Here you will find an overview of all vacuum devices, the technical data for your device is at the bottom of the "Technical Data" tab.
If you own one of our older devices, you can read the technical information in your user manual. If you can no longer find the instructions, please feel free to contact our service team.
You should regularly clean the foam rubber seal set on your vacuum sealer because this is the only way to ensure that the full vacuum is built up permanently and that automatic sealing also works smoothly. To do this, open the device lid and remove the seals from your device. Then wash them thoroughly with some clean water. Let the seals thoroughly before reinserting them into the device. If you have left it too late for cleaning, you can easily order a new set of foam rubber seals.
After changing the sealing strip and using it for the first time, try to smooth it out. Start from the centre and move to the left and right, then the glue should adhere even better. You can also do this process more than once after you have vacuumed.
Try to remove the valve in the middle of the plastic container’s lid and the orange pressure indicator with the white ring. To do this, pull them slightly upwards.
Then disassemble it and check whether there might be any small particles from production stuck in it that might be impeding the vacuum process. Afterwards, clean everything thoroughly, reassemble and reinstall the valves in the cover.
Likewise, you should also remove, clean, and reinstall the silicone seal that wraps around the lid.
If your vacuum container is still leaking afterwards, please contact our service team.


.svg)


